Model node links
Beginner Artist
Note
In some versions of Stride, Model node links are called Bone links.
The model node link component attaches an entity to a node of a skeleton on another entity.
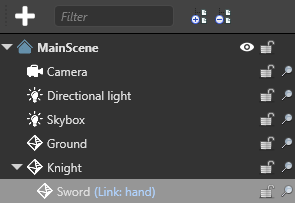
For example, imagine you have two models: a knight, and a sword. The character has a sword swinging animation. You can use a model link node to place the sword in the knight's hand and attach it to the correct node in the knight skeleton, so the sword swings with the knight animation.
Set up a model node link component
In the Scene Editor, select the entity you want to link to a node in another entity.
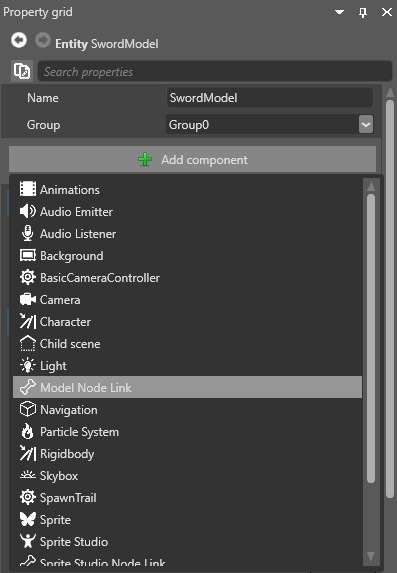
In the Property Grid, click Add component and select Model node link.

Game Studio adds a model node link component to the entity.

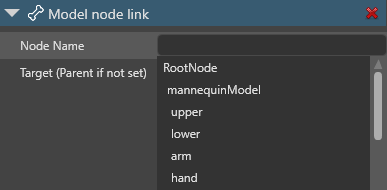
The component only has two properties: Node name and Target.
Next to Target, click
 .
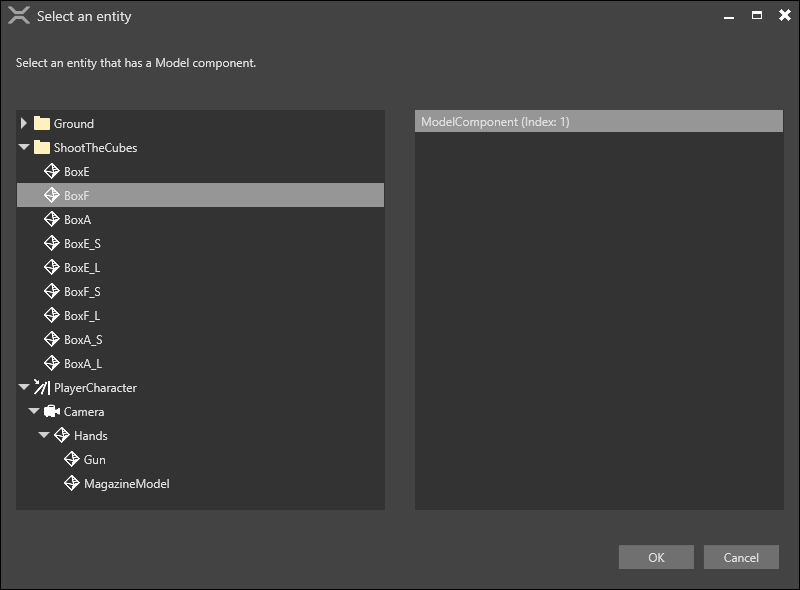
.The Select an entity window opens.

Select the model you want to link the entity to and click OK.
Note
The entity you link to must have a model with a skeleton, even if the model isn't visible at runtime.
Tip
If you don't specify a model, Stride links the entity to the model on the parent entity.
In Node name, select the node in the model you want to attach this entity to.

After you link the node, the Entity Tree shows the link in blue next to the entity name.

Offset
To add an offset to the linked entity, use the entity's TransformComponent.

Note
If you don't want to add an offset, make sure the values are all set to 0,0,0.
See also
- Import animations
- Animation properties
- Set up animations
- Preview animations
- Animation scripts
- Additive animation
- Procedural animation
- Custom blend trees
- custom attributes
For examples of how model node links are used, see: