Custom shaders
Intermediate Programmer
You can write your own shaders in Visual Studio and use them in material attributes. For example, you can write a shader to add textures to materials based on the objects' world positions, or generate noise and use it to randomize material properties.
As shaders are text files, you can add comments, enable and disable lines of code, and edit them like any other code file. This makes them easy to maintain and iterate.
You can also use custom shaders to create custom post effects. For more information, see Custom color transforms.
Create a shader
Make sure you have the Stride Visual Studio extension installed. This is necessary to convert the shader files from SDSL (Stride shading language) to
.csfiles.In Game Studio, in the toolbar, click
 (Open in IDE) to open your project in Visual Studio.
In the Visual Studio Solution Explorer, right-click the project (eg MyGame.Game) and select Add > New item.
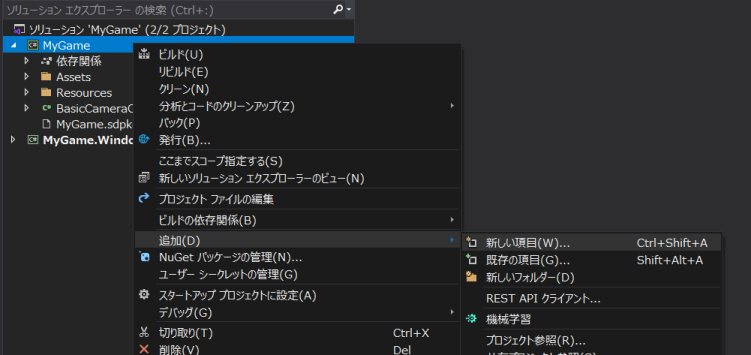
Select Class.
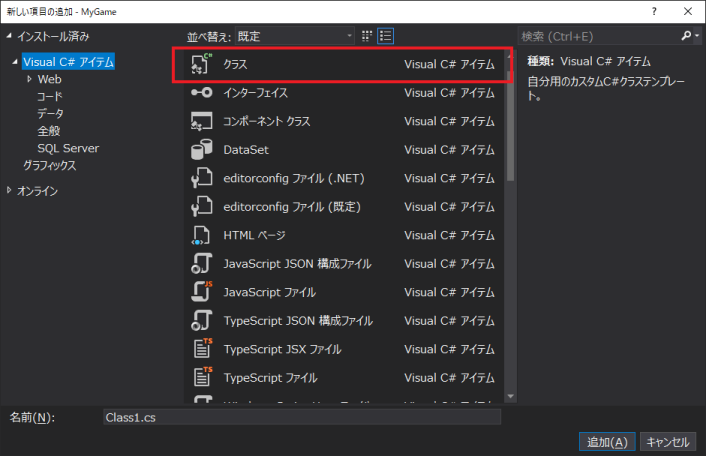
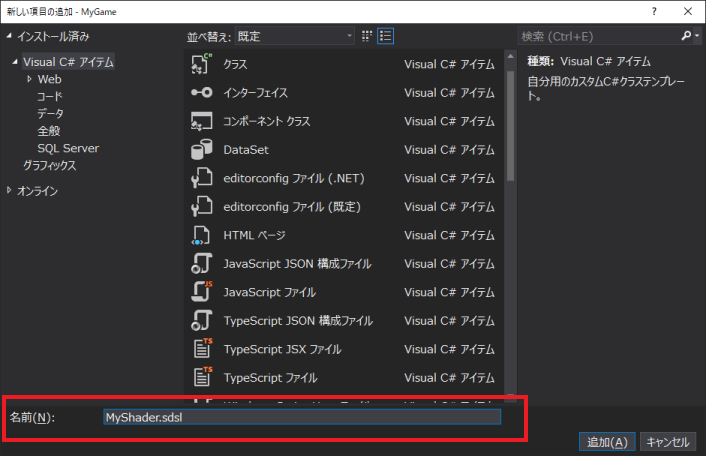
In the Name field, specify a name with the extension .sdsl (eg MyShader.sdsl), and click Add.
The Stride Visual Studio extension automatically generates a
.csfile from the.sdslfile. The Solution Explorer lists it as a child of the.sdslfile.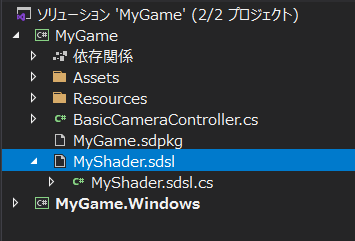
Open the
.sdslfile, remove the existing lines, and write your shader.Shaders are written in Stride Shading Language (SDSL), which is based on HLSL. For more information, see Shading language.
For example, this shader creates a green color (
RGBA 0;1;0;1):namespace MyGame { shader MyShader : ComputeColor { override float4 Compute() { return float4(0, 1, 0, 1); } }; }Note
Make sure the shader name in the file (eg
MyShaderabove) is the same as the filename.Note
To be accessible from the Game Studio Property Grid, the shader must inherit from
ComputeColor. As 'ComputeColoralways returns a float4 value, properties that take float values (eg metalness and gloss maps) use the first component (the red component) of the value returned byComputeColor.Save all the files in the solution (File > Save All).
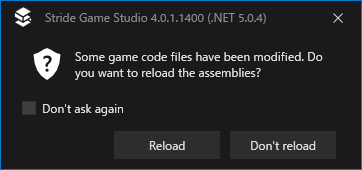
In Game Studio, reload the assemblies.
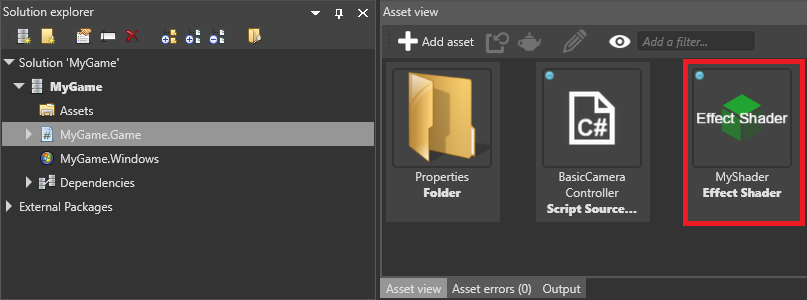
The Asset View lists the shader in the same directory as your scripts (eg MyGame.Game).
Note
In some situations, Game Studio incorrectly identifies the shader as a script, as in the screenshot below:
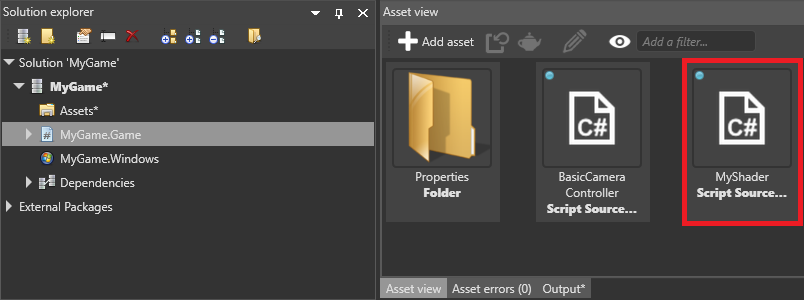
If this happens, restart Game Studio (File > Reload project).
Use a custom shader
You can use custom shaders in any material attribute.
In the Asset View, select the material you want to use the shader in.
In the Property Grid, next to the property you want to control with the shader, click
 (Change) and select Shader.
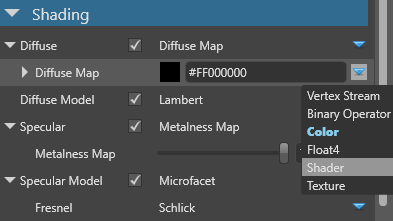
In the field, type the name of your shader (eg MyShader).
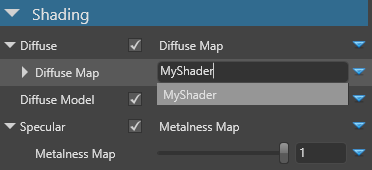
The property uses the shader you specify.
Tip
When you make a change to the .sdsl file in Visual Studio and save it, Game Studio automatically updates the project with your changes. If this doesn't happen, restart Game Studio (File > Reload project).
Note
If you delete a shader from the project assets, to prevent errors, make sure you also remove it from the properties of materials that use it.
Arguments and parameters
Template arguments
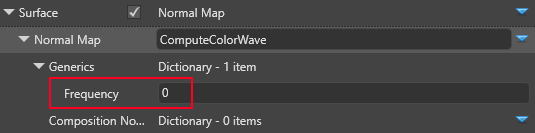
Template arguments (generics) don't change at runtime. However, different materials can use different instances of the shader with different values.
When the shaders are compiled, Stride substitutes template arguments with the value you set in the Property Grid.
For example, the code below defines and uses the template argument Frequency:
shader ComputeColorWave<float Frequency> : ComputeColor, Texturing
{
    override float4 Compute()
   {
        return sin((Global.Time) * 2 * 3.14 * Frequency);
    }
};
Parameters
Parameters can be changed at runtime.
For example, the code below defines and uses the dynamic parameter Frequency:
shader ComputeColorWave: ComputeColor, Texturing
{
    cbuffer PerMaterial
    {
        stage float Frequency = 1.0f;
    }

    override float4 Compute()
    {
        return sin(( Global.Time ) * 2 * 3.14 * Frequency);
    }
};
To modify the value at runtime, access and set it in the material parameter collection. For example, to change the Frequency, use:
myMaterial.Passes[myPassIndex].Parameters.Set(ComputeColorWaveKeys.Frequency, MyFrequency);
Note
ComputeColorWaveKeys.Frequency is generated by the Stride Visual Studio extension from the shader file.
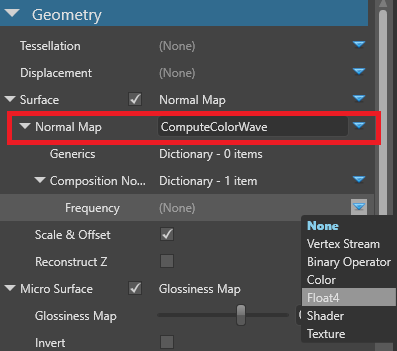
Compositions
This composition lets you set the Frequency in the Game Studio Property Grid:
shader ComputeColorWave : ComputeColor, Texturing
{
    compose ComputeColor Frequency;

    override float4 Compute()
    {
        return sin(( Global.Time ) * 2 * 3.14 * Frequency.Compute().r);
    }
};
Then you can set the value in the material properties:
Custom shader sample
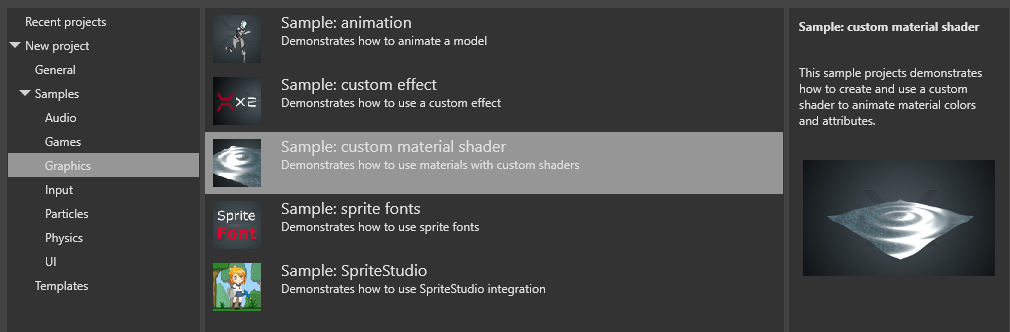
For an example of a custom shader, see the custom material shader sample project included with Stride.
In the project, the ComputeColorWaveNormal shader is used in the displacement map and surface material properties.