Install Stride
Beginner
Introduction
If you want to create games using Stride, this guide provides the installation steps you'll need to follow. You'll need to install the Stride installer and launcher. The Stride installer is approximately 55 MB and is downloaded directly from our main GitHub repository.
The installer will automatically download and install the prerequisites if they are not detected, including the Stride Launcher, which is essential for downloading and installing the latest version of Stride for game development.
If you're interested in building the Stride engine from source or contributing to its development, please visit the Stride GitHub repository for instructions on how to build from source and contribute to the project.
Prerequisites (automatically installed if not present):
- Latest .NET SDK supported by Stride
- Microsoft Visual C++ Redistributable
The Stride Launcher will download and install the latest version of Stride.
Installation Steps
Download the Stride installer (StrideSetup.exe) from the Stride website.
Run the installer by double-clicking the StrideSetup.exe file.
The Stride Setup Wizard opens.
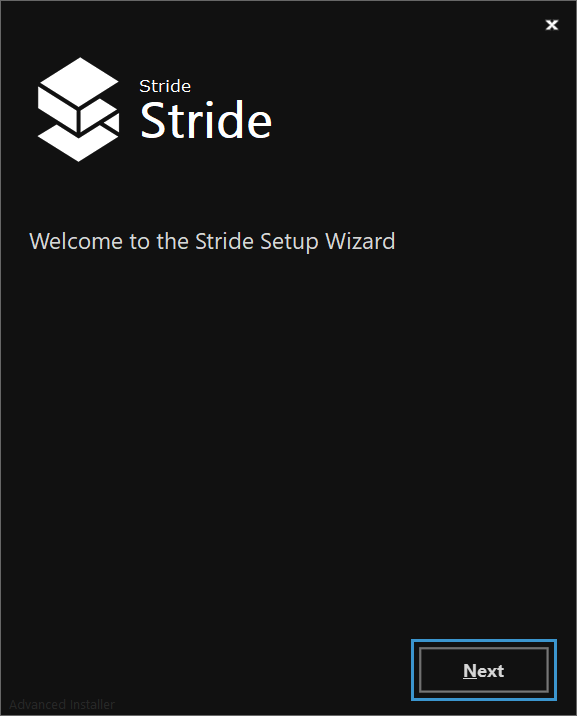
Click Next.
The Stride installation type window opens.
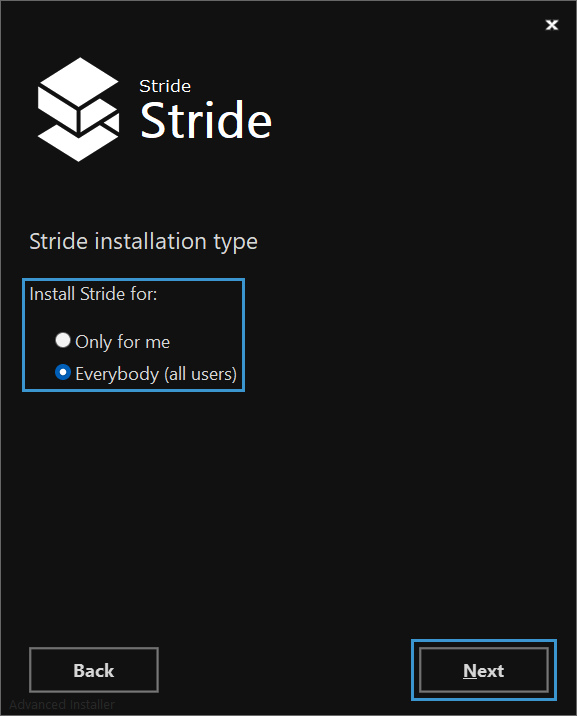
Select an installation type and click Next.
The Select installation folder window opens.
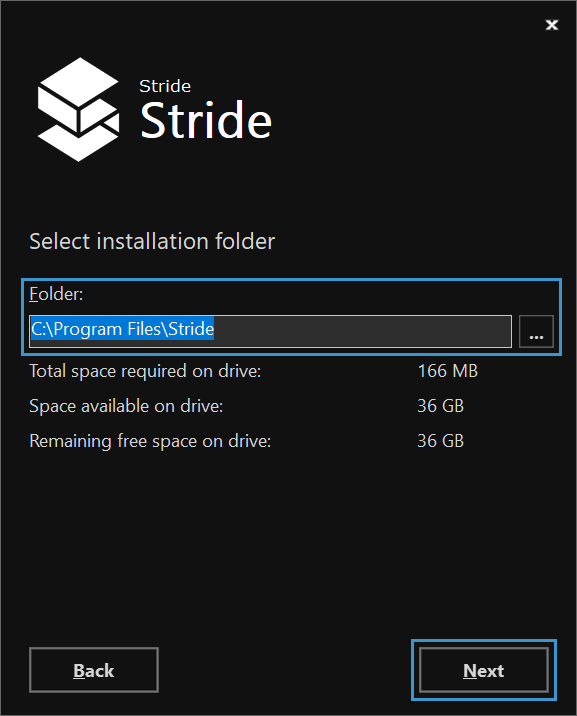
Choose a folder where you want to install Stride, then click Next.
The Create application shortcuts window opens.
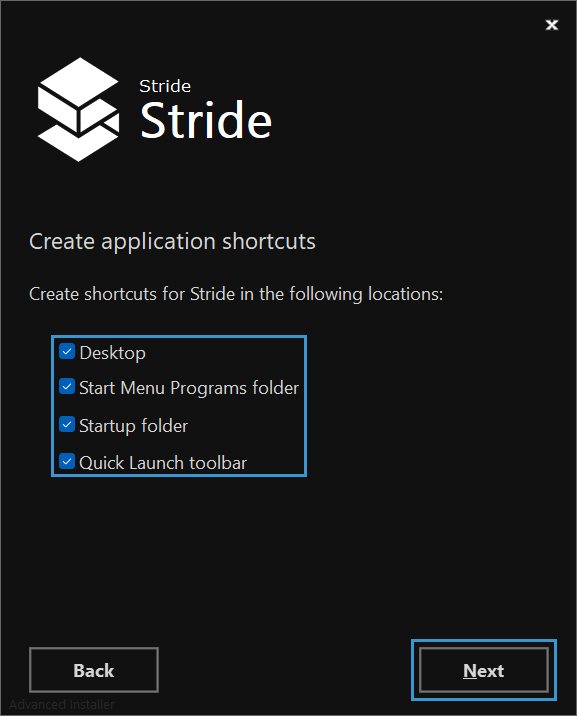
Choose which shortcuts you want Stride to create, then click Next.
The Ready to Install window opens.
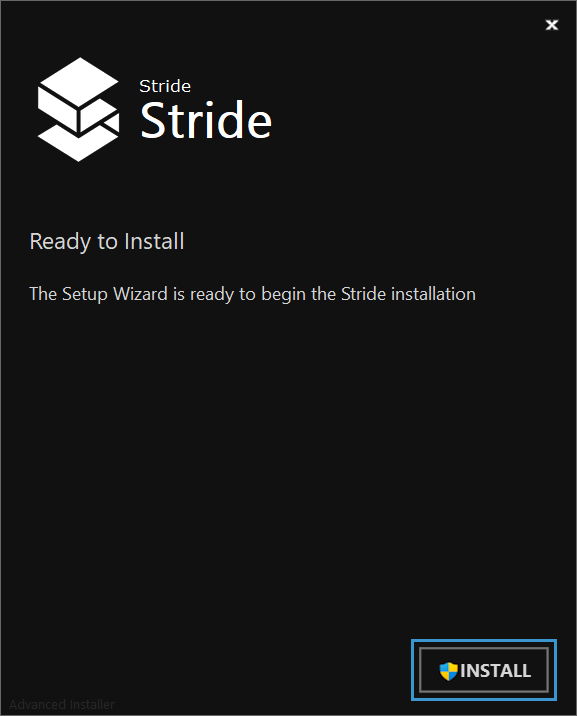
Click Install to begin the installation.
Installation begins.
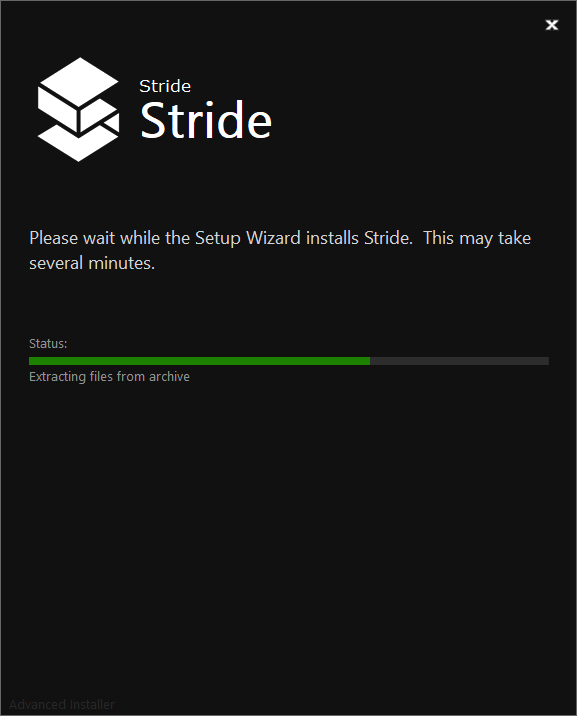
The installer will proceed with the installation. After it completes, Stride creates shortcuts in the locations you selected, and the Stride Launcher starts automatically.
The first time you run the Stride Launcher, you will be asked to accept the privacy policy.
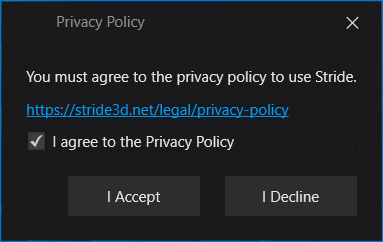
Check I agree to the Privacy Policy, then click I Accept.
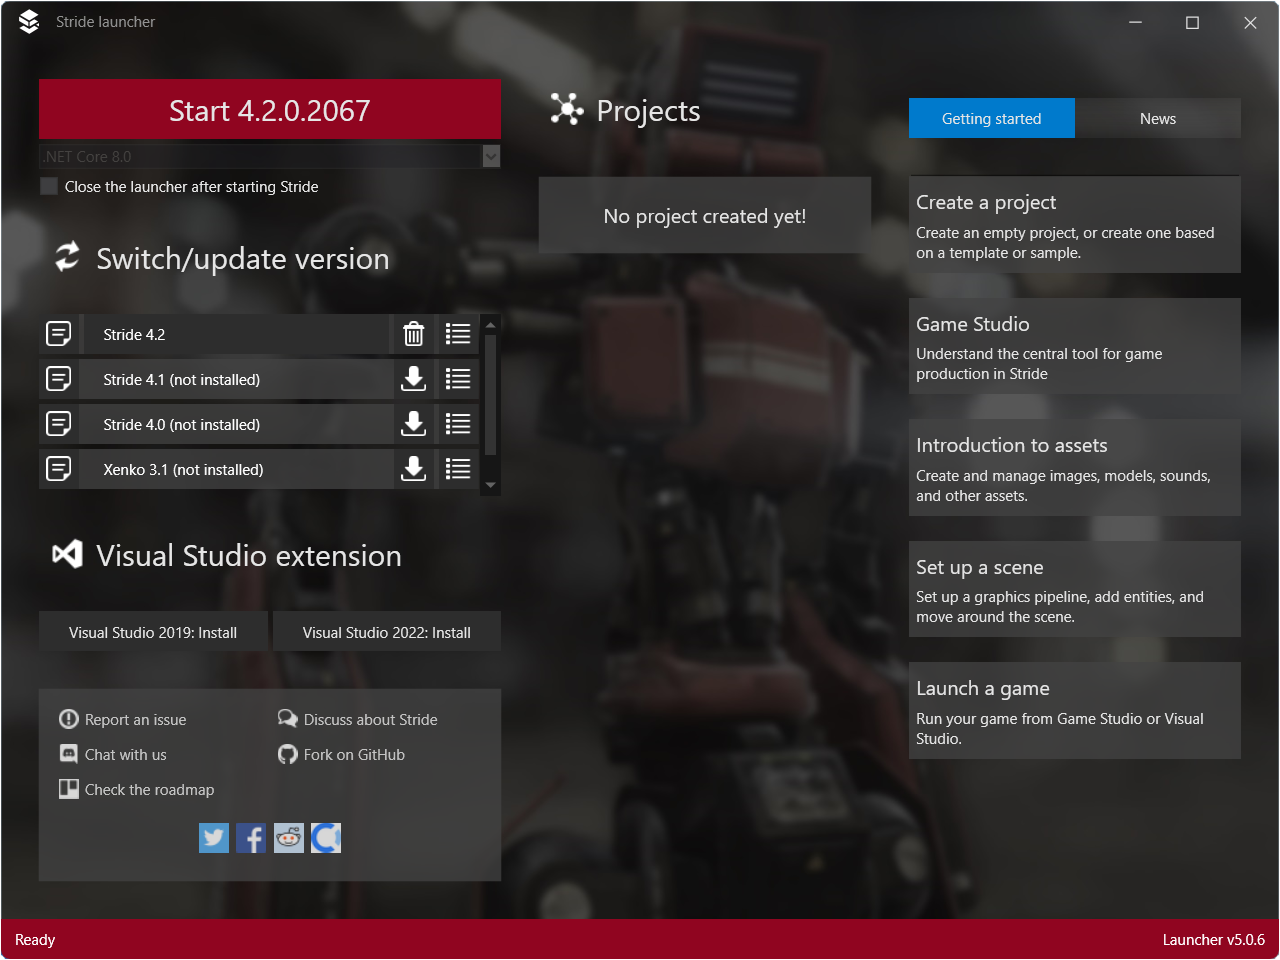
The Stride Launcher window opens.
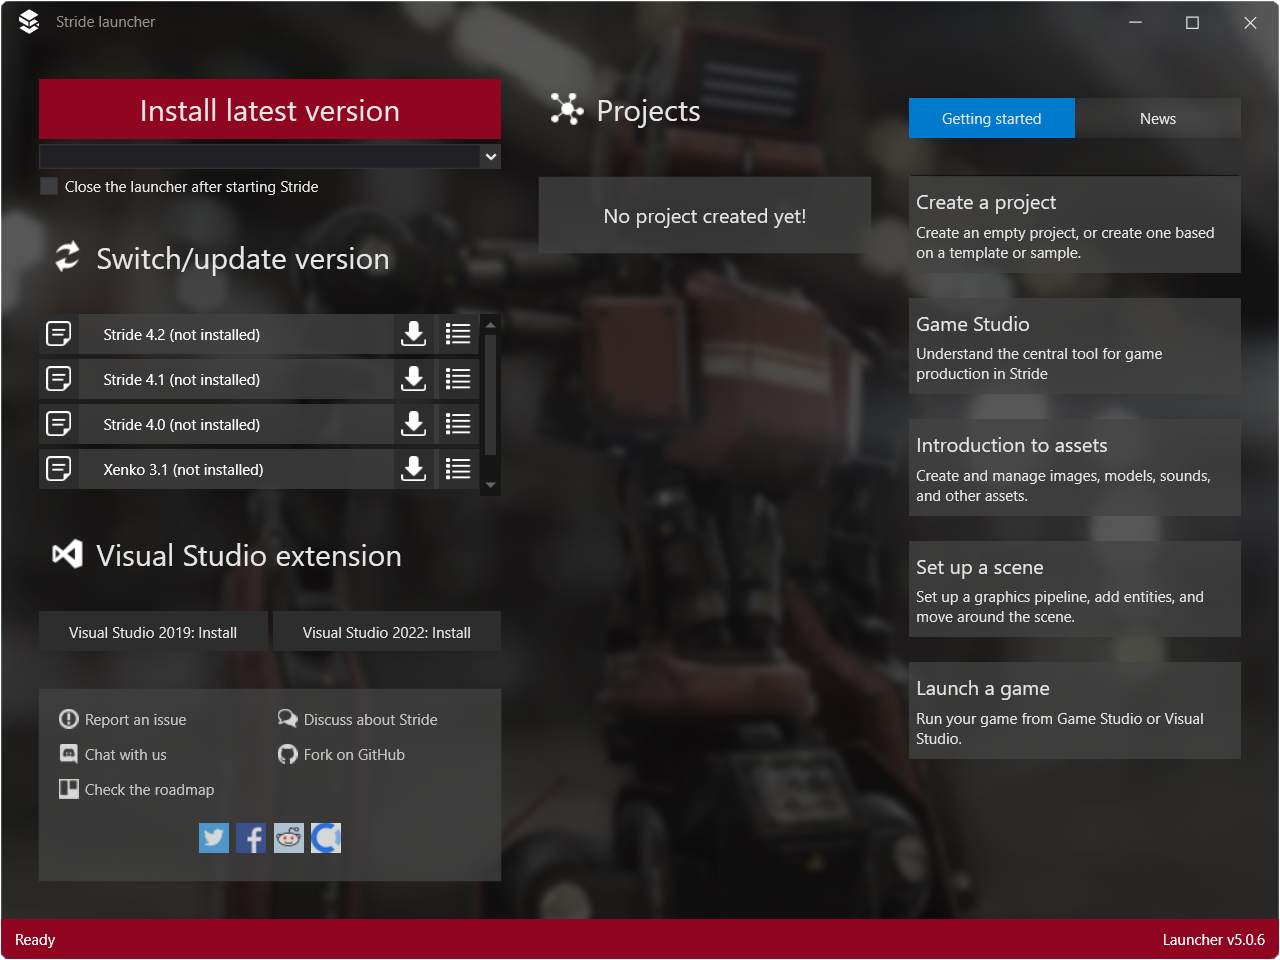
The Stride Launcher prompts you to install the latest version of Stride.

Click Yes to install the latest version.
Installation of the latest version of Stride begins.

While the installation is in progress, the release notes are displayed.
Warning
If the .NET SDK has never been installed on your machine, the .NET SDK installation window might appear below the Stride installation window. Please check step 12 for details and be prepared to manually continue the .NET SDK installation.
During the installation, you might be asked to install the .NET SDK if it's not already on your machine.

Click Install.
The Stride Launcher asks if you want to install the Visual Studio integration. This allows you to edit shaders directly from Visual Studio, providing syntax highlighting, live code analysis with validation, error-checking, and navigation. Installing the integration isn't mandatory, but we recommend it.
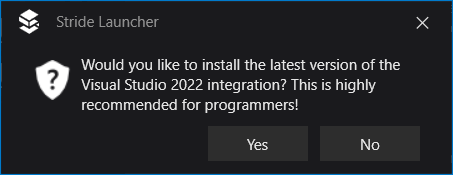
Click Yes to install the integration, or No to skip.
Stride is now installed and ready to use.
Note
Stride Launcher: If you click Start and see an error message such as Could not find a compatible version of MSBuild. or Path to dotnet executable is not set., close the Stride Launcher and restart it. This issue is caused by the Stride Launcher not detecting the .NET SDK installation. Restarting the Stride Launcher should resolve the issue. Alternatively, restart your computer.
Example error: 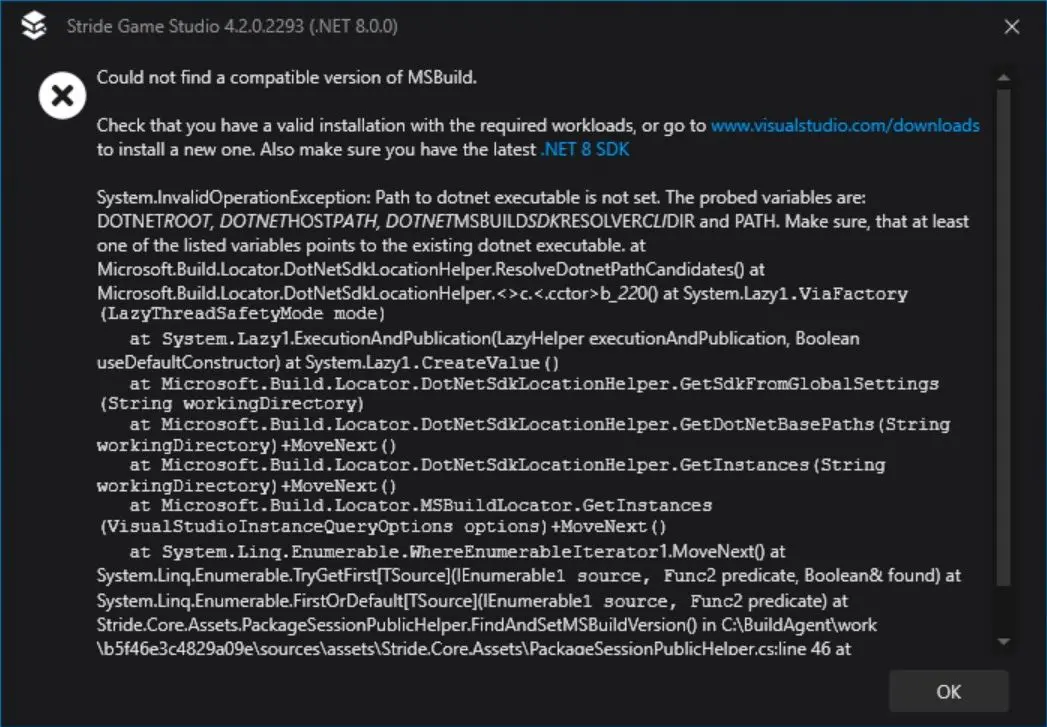
Note
If you don't install the prerequisites, Stride won't run. In this case, you can download and install the prerequisites separately. For instructions, see Troubleshooting — Stride doesn't run.
Alternatively, uninstall Stride, restart the Stride installer, and install the prerequisites when prompted.