Audio emitters
Beginner Programmer Designer
Audio emitter components emit audio used to create spatialized audio. You can add them to any entity.
The pitch and volume of the sound changes as the audio listener moves closer to and away from the audio emitter.
Note
You need at least one AudioListenerComponent in the scene to hear audio from audio emitters.
1. Set up an audio emitter asset
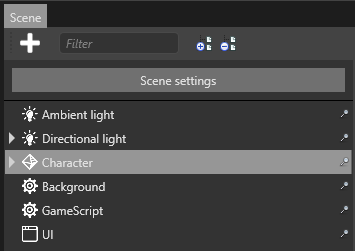
In the Scene view, select an entity you want to be an audio emitter.
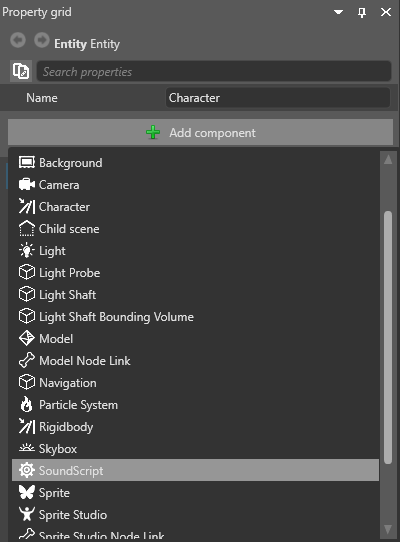
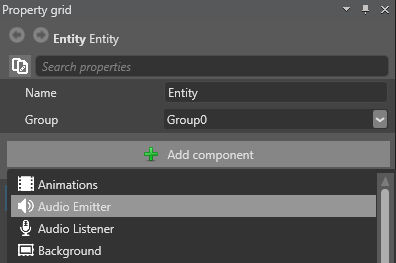
In the Property Grid, click Add component and select Audio Emitter.
Now we need to add audio to the emitter.
Under Audio Emitter, click
 (Add) and specify a name for the audio.
From the Asset View, drag and drop an audio asset to the audio you just added:
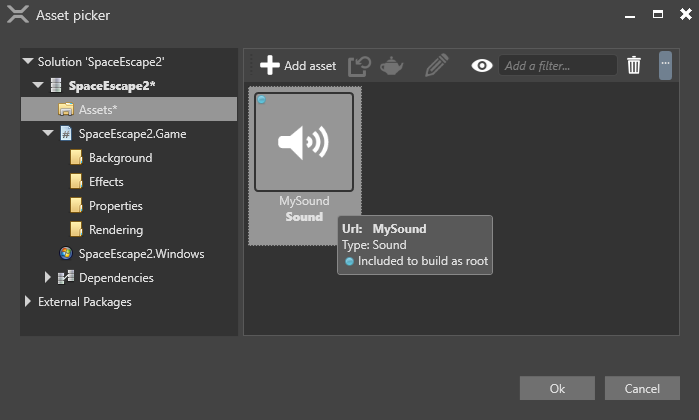
Alternatively, click
 (Select an asset).
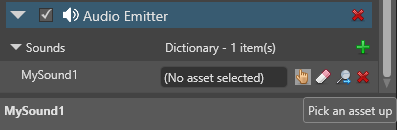
Then choose an audio asset:
Repeat steps 3 and 4 to add as many audio assets as you need.
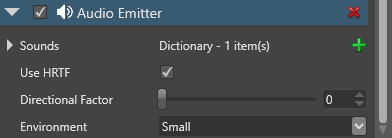
Configure the properties for this audio emitter.
| Property | Description |
|---|---|
| Use HRTF | Enable head-related transfer function (HRTF). With this enabled, sounds appear to come from a specific point in 3D space, synthesizing binaural audio. For more information, see HRTF. |
| Directional factor | How directional the audio is, from 0 (min) to 1 (max). If set to 0, the audio is emitted from all directions. You can control this with a slider or number value. |
| Environment | The reverb type for the audio, simulating reverberation of real environments (small, medium, large, or outdoors). |
2. Create a script to play the audio
Now we need to create a script to play and configure the audio asset.
In your script, instantiate AudioEmitterSoundController for each sound you want to use in the script.
For example, say we have two sounds, MySound1 and MySound2:
 AudioEmitterComponent audioEmitterComponent = Entity.Get<AudioEmitterComponent>();
 AudioEmitterSoundController mySound1Controller = audioEmitterComponent["MySound1"];
 AudioEmitterSoundController mySound2Controller = audioEmitterComponent["MySound2"];
Use the following AudioEmitterSoundController properties and methods to play and configure the audio:
| Property / method | Description |
|---|---|
| IsLooping | Loops audio. Has no effect if PlayAndForget() is set to true. |
| Pitch | Gets or sets sound pitch (frequency). Use with caution for spatialized audio. |
| PlayState | Gets the current state of the audio emitter sound controller. |
| Volume | Volume of the audio. |
| Pause() | Pauses audio. |
| Play() | Plays audio. |
| PlayAndForget() | Plays audio once, then clears the memory. Useful for short sounds such as gunshots. Overrides IsLooping. |
| Stop() | Stops audio. |
For example:
mySound1Controller.IsLooping = true;
mySound1Controller.Pitch = 2.0f;
mySound1Controller.Volume = 0.5f;
mySound1Controller.Play();
This sound will loop at double the original pitch and half the original volume. For more information, see the AudioEmitterSoundController Stride API documentation.
3. Add the script to the audio emitter entity
Game Studio lists the script as a component under Add component. Add the script to the audio emitter entity.
In the Scene view, select an entity you want to be an audio emitter.
Click Add component and select the script.