Tutorial: Script a trigger
Beginner Designer
In this tutorial, we'll create a trigger that doubles the size of a ball when the ball passes through it.
Note
The screenshots and videos in this tutorial were made using an earlier version of Stride, so some parts of the UI, and the default skybox and sphere, might look different from your version.
1. Create a bouncing ball
Follow the instructions in the Create a bouncing ball tutorial. This creates a simple scene in which a ball falls from midair, hits the ground, and bounces.
3. Add a trigger
Now we'll add a trigger between the ball and the ground, so the ball passes through it.
In the Scene Editor, click the white plus button (Create new entity) and select Empty entity.
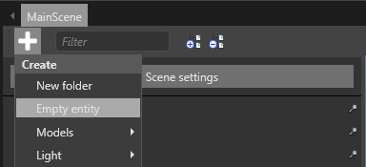
Game Studio adds an entity to the scene with the default name Entity.
This entity will be our trigger, so rename it Trigger to make it easy to identify.
Since we don't need the trigger to move, we'll make it a Static Component. In the Property Grid, click Add component and select Static component.
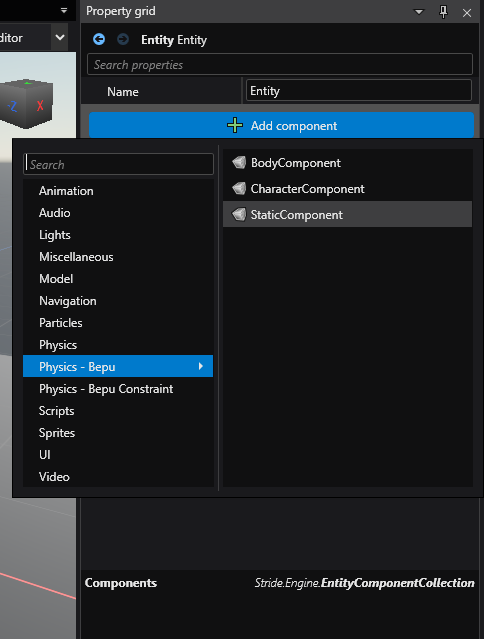
In the Property Grid, expand the Static Component to view its properties.
We need to give the trigger a shape. Next to Colliders, click
 (Add) and select Box.
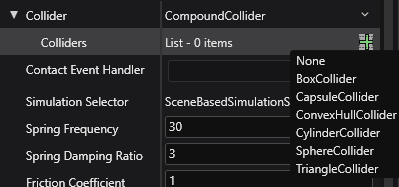
This gives the trigger a box shape.
4. Give the trigger a model
Right now, the trigger is invisible at runtime. To better show how the trigger works, we'll make it a transparent box. This has no effect on how the trigger works; it just means we can easily see where it is at runtime.
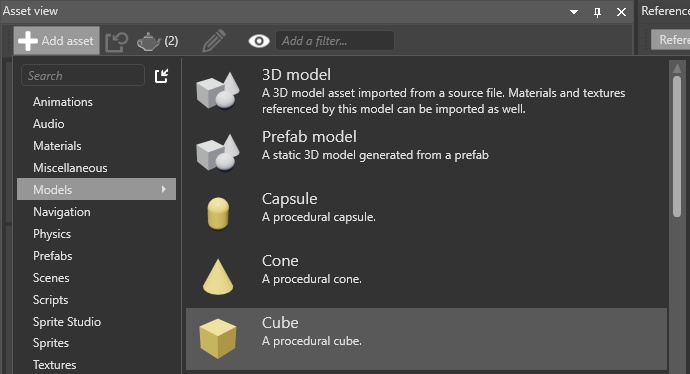
Create a new procedural model asset. To do this, in the Asset View, click Add asset, and select Models > Cube.
Create a new empty material asset. To do this, in the Asset View, click Add asset, and select Materials > Material.
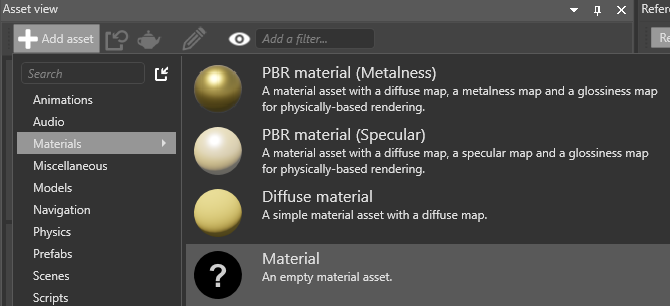
Let's rename the material to make it easy to identify. To do this, right-click, select Rename, and type a new name (eg Transparent).
Select the Trigger entity. In the Property Grid, click Add component and select Model.
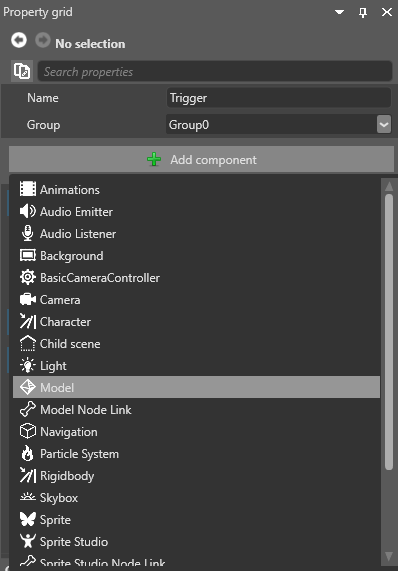
Game Studio adds a model component to the entity.
Under Model, click
 (Select an asset).
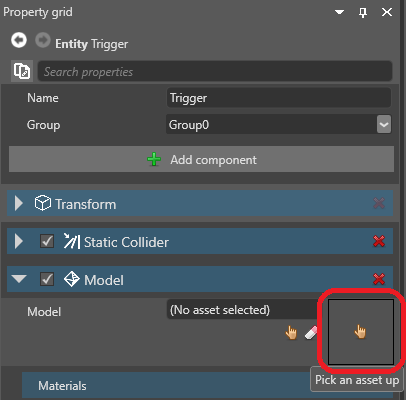
Select the Cube model we created in step 1 and click OK.
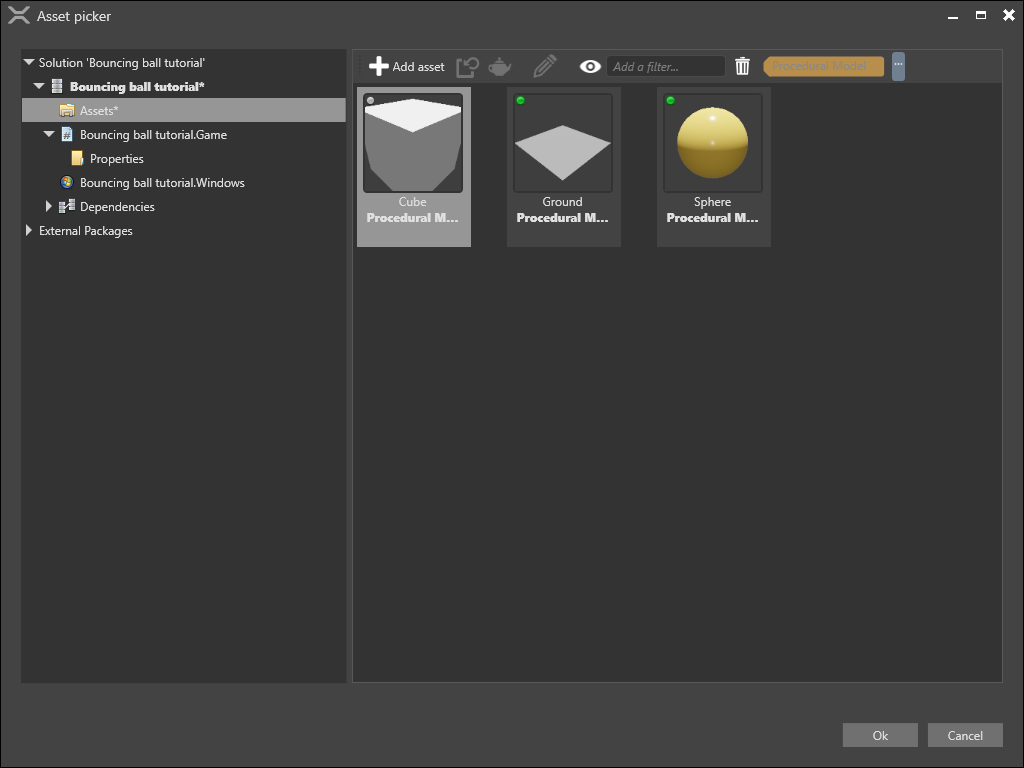
In the Property Grid, under Model > Materials, click
 (Select an asset).
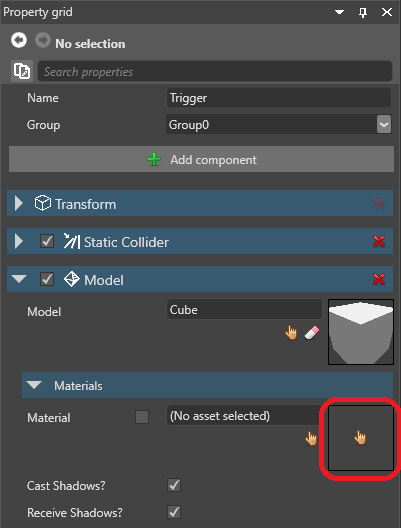
Select the Transparent material we created in step 2 and click OK.
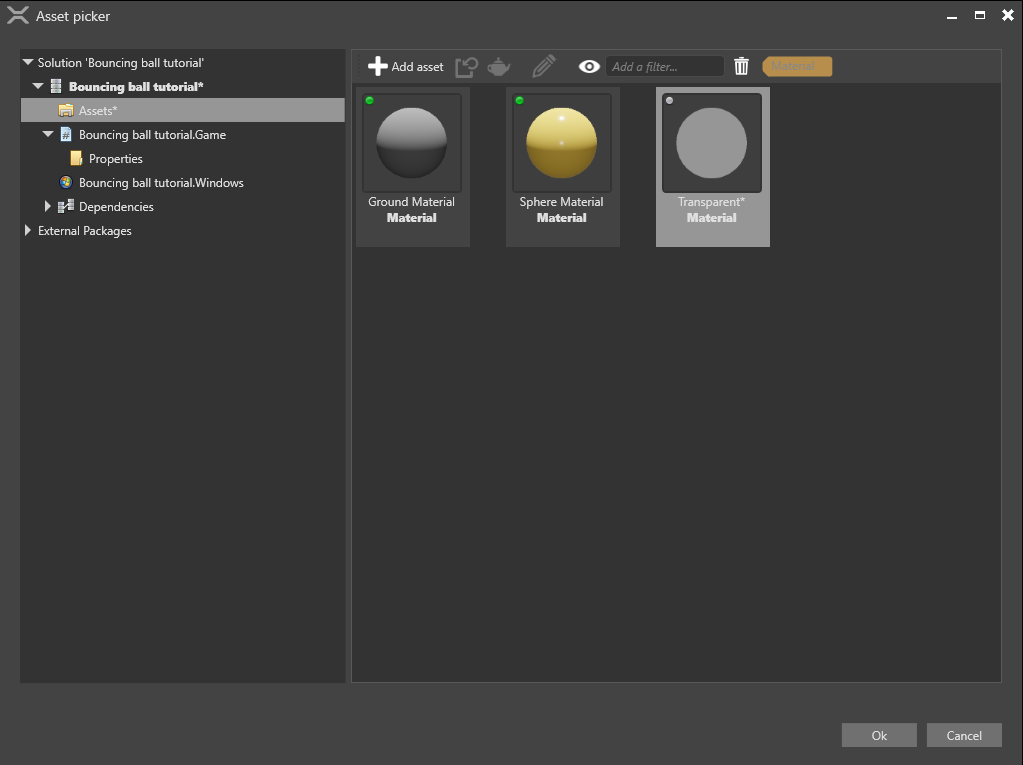
In the Asset View, select the Transparent material asset.
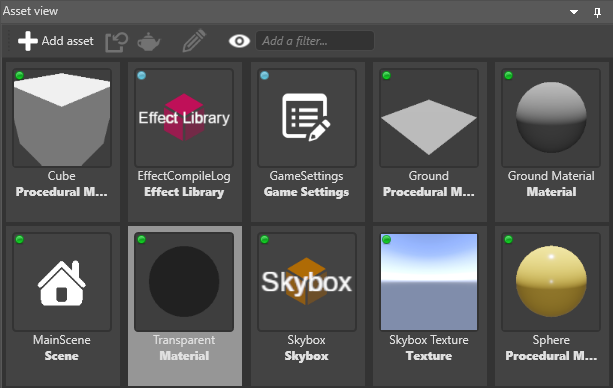
In the Property Grid, under Misc > Transparency, select Blend.

By default, the Alpha is set to 1. This makes the material completely opaque. To set it to 50% opacity, set the Alpha to 0.5.
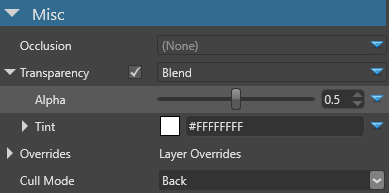
Now the trigger area will be visible at runtime.
5. Position the trigger
We need to position the trigger between the ground and the sphere, so the ball falls through it.
In the Property Grid, under Transform, set the Position to: X:0, Y:3, Z:0
Now the trigger entity is between the ground and the sphere.
6. Change the sphere size with script
If we run the project now (F5), the ball bounces off the trigger, but nothing happens.
Let's write a script to change the size of the ball when it enters the trigger.
Note
For more information about scripts, see Scripts.
In the Asset View, click Add asset and select Scripts > Sync Script.
In the Create a script dialog, name your script Trigger and click Create script.
2a. If Game Studio asks if you want to save your script, click Save.
2b. If Game Studio asks if you want to reload the assemblies, click Reload.
Open the script, replace its content with the following code, and save the file:
using Stride.BepuPhysics;
using Stride.BepuPhysics.Definitions.Contacts;
using Stride.Core.Mathematics;
using Stride.Engine;

namespace TransformTrigger
{
    // Adding IContactHandler to listen to contact events
    public class Trigger : SyncScript, IContactHandler
    {
        public override void Start()
        {
            // Initialization of the script.
        }

        public override void Update()
        {
            // Do stuff every new frame
        }

        // Let objects pass through this trigger, false would make objects bounce off it
        public bool NoContactResponse => true;

        void IContactHandler.OnStartedTouching<TManifold>(Contacts<TManifold> contacts)
        {
            // When something enters inside this object
            contacts.Other.Entity.Transform.Scale = new Vector3(2.0f);
        }

        void IContactHandler.OnStoppedTouching<TManifold>(Contacts<TManifold> contacts)
        {
            // When something exits this object
            contacts.Other.Entity.Transform.Scale = new Vector3(1.0f);
        }
    }
}
This code doubles the size (scale) of any entity that enters the trigger. When the entity exits the trigger, it is set to a unit size.
Reload the assemblies.
7. Add the script
Finally, let's add this script to the trigger entity as a component.
In Game Studio, select the Trigger entity.
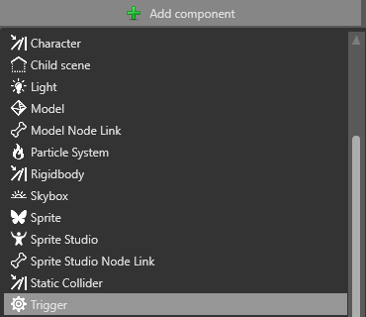
In the Property Grid, click Add component and select the Trigger script.
Inside your Static Component click on the hand icon next to the
Contact Event Handlerproperty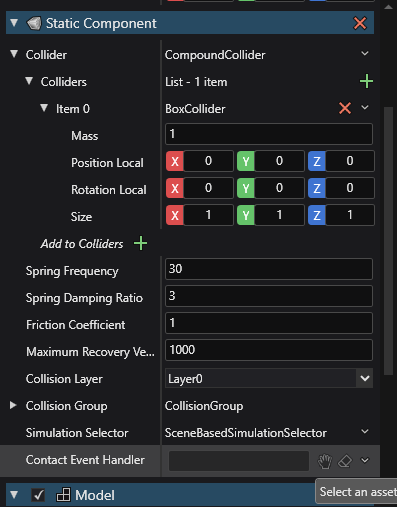
Select your newly created
Triggercomponent and pressOk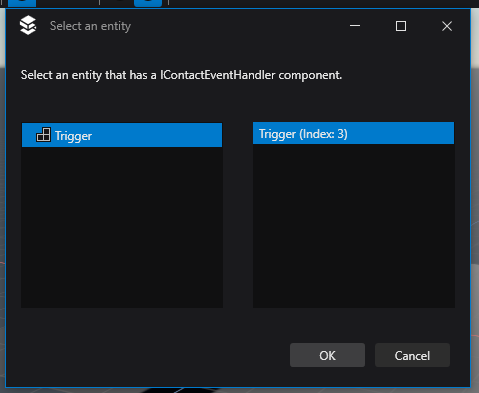
8. Run the project
Run the project (F5) to see the trigger in action.
The ball falls through the trigger, doubles in size, exits the trigger, and returns to its normal size.